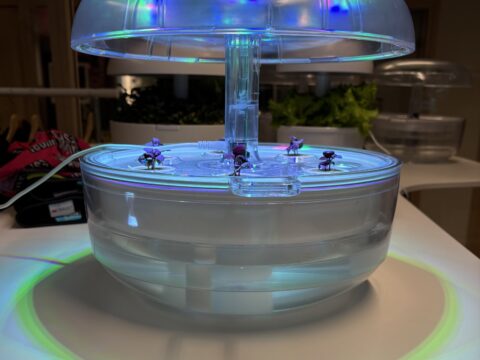
What makes Plantui different from other smart gardens – dynamic lights
Smart gardens have become increasingly popular around the globe, as people look for easier and more efficient ways ...
It’s easy to start using the Plantui smart indoor garden. Aside from the device, all you need are plant capsules, water and electricity. As the Plantui is based on hydroponics, soil isn’t required.
Steps for setting up the Plantui indoor garden
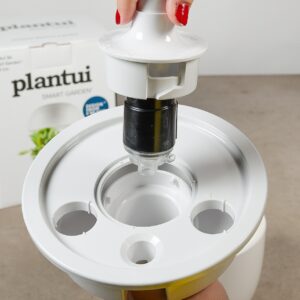
Note! Pictures on the page, e.g. From the manual
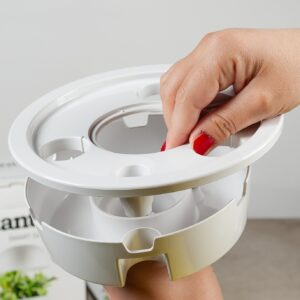
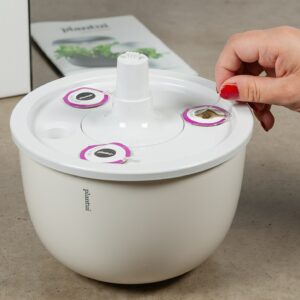
NB! Make sure that the seeds are in place.
Be careful when you remove the capsule stickers. Make sure that the seeds are at the bottom of the capsule and not attached to the capsule sticker or under the edges of the “sticker label”. If the seeds are stuck on the sticker or have otherwise fallen out, you can use a knife tip or something similar to return them back to the bottom of the capsule.
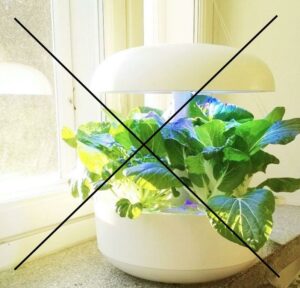
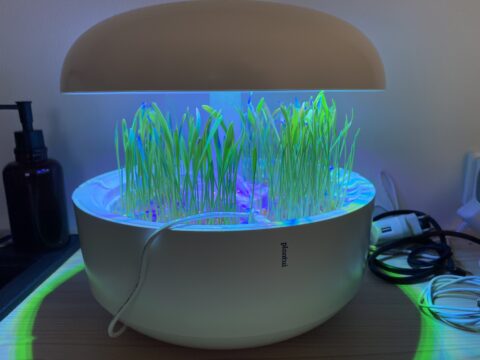
The Plantui smart garden is designed as an indoor garden. That’s why it needs to be placed indoors, not outside or even on the balcony. Direct sunlight along with hot or cold weather can damage the plants as well as the device.
Keep in mind during wintertime that a cold draft via window frames is also harmful for plants. The intelligent Plantui light system provides plants all the light they need. Plants growing in the Plantui device don’t require any natural light.
You should also make sure the device is placed on a level base. It’s important that all plant capsules receive an equal amount of water.
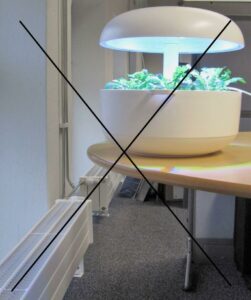
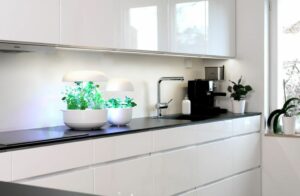
The plants can also suffer if the air is too warm. If the Plantui is placed too close to a radiator, the warm air rises and causes the air in the device to become too dry. The same phenomenon can occur in the kitchen so you shouldn’t put the Plantui indoor garden too close to the oven or cooker (even though this might be a practical place when cooking).
Where should you place the Plantui indoor garden then? Our favourite places are: on the living room table (an elegant centre-piece), in the hall (making an illuminating light feature), on the dining table (easy access to fresh herbs during meals), in the bedroom (Plantui needs sleep as much as you), in the study (bright light therapy whilst you work).
When the plants grow taller, raise the light hat with the smart height blocks so that the plants do not touch the light source. Add the first height block when the plant has grown up to the rim of the seed capsule. A new height block is added always before the plant reaches the light hat.
You can also cut the plant shorter so a height block is not always necessary. The technology inside the height block can automatically change the settings of the Plantui device to respond to the plants’ needs during each phase of growth. Separate boosting and blooming light blocks are available as accessories. These will further enhance the growth and well-being of the plants.