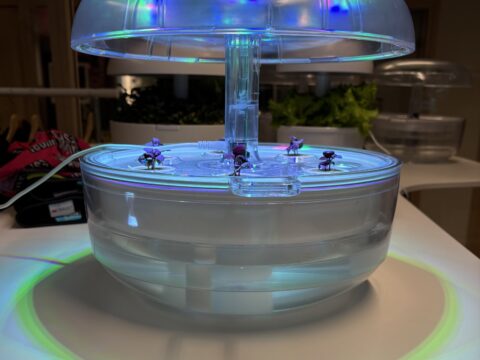
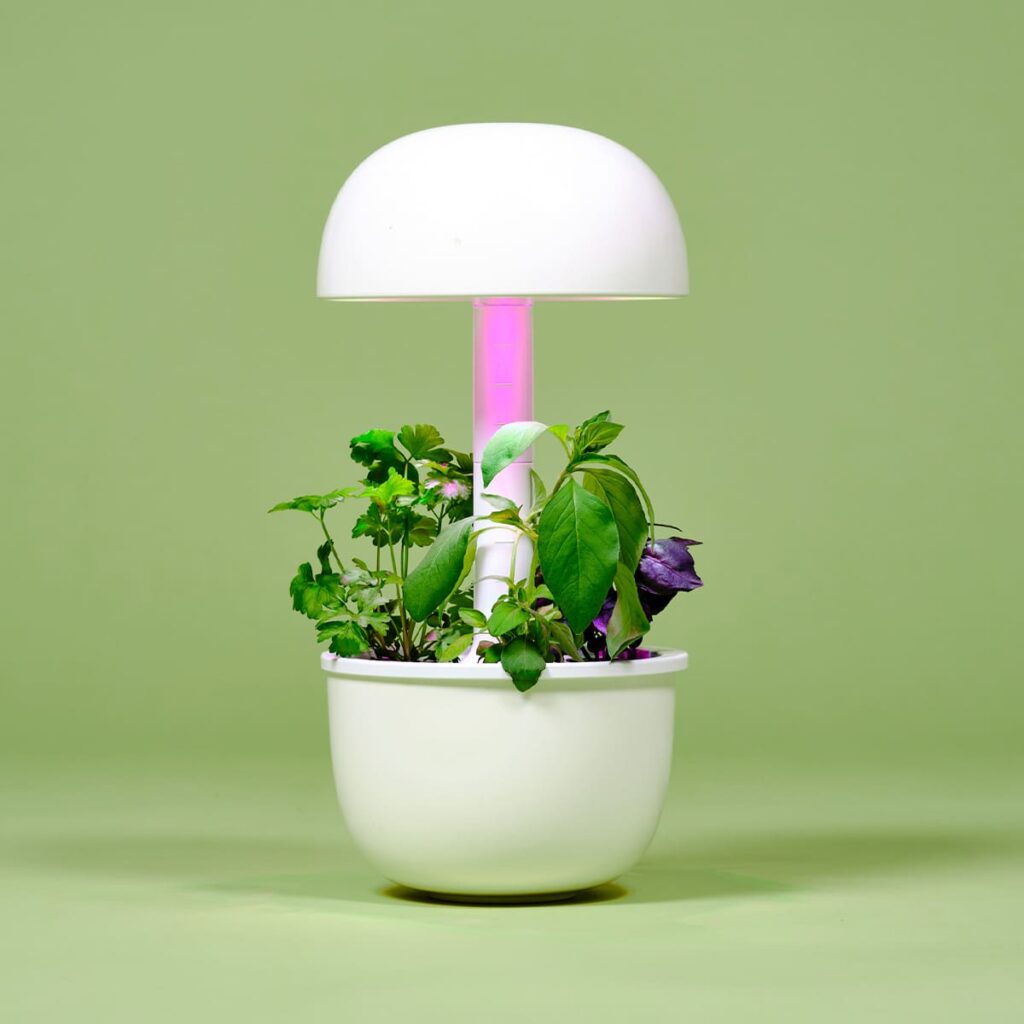
Plantui Smart Garden 3
The Plantui Smart Garden 3 is the perfect indoor garden for small spaces. Supports herbs, salads, edible flowers, and chilies and tomatoes.
149.00 €
Blog
Starting seeds indoors, or “Pre-growing”, means that you start to grow seeds into sprout indoors, and then – when it’s warm enough, move the sprouts to your greenhouse or garden to grow to full plant. This way you’ll gain precious weeks right at the start of growing season.
Are you one of us who starts to dream about gardening and growing your own veggies as soon as days get longer and spring knocks at the door? It might be still early for your outdoor gardening, but this is the right time to start planning your summer garden: select the seeds, plan the space, and make schedules… it’s all so exciting! It’s also the right time to start seeds indoors, and smart gardens are great allies for you in this task!
In this article we will look into why it’s a good idea to start pre-growing seeds indoors, which plants are good for pre-grow, when to start and how to transplant to get the best gardening experience. You will also get all the tips and tricks you need to know if you want to start pre-grow seeds using hydroponics.
Start to pre-grow the summer crops indoors is a rather common habit in the Nordic countries, where pre-growing allows to extend growing season and better exploit the summer months outdoor. Pre-growing is a good habit also in warmer countries where it allows one to get an extra round of cool-weather crops, before the heat of summer.
If you are not an expert gardener, pre-growing indoors also offers an easier start rather than directly planting the seeds outdoors. Indeed, it’s easier to watch your baby plants start to grow, and you don’t have to worry about other unwanted weed plants growing in the same spot and stealing nutrients and water. It’s also easier to take good care of them while they are young and fragile.
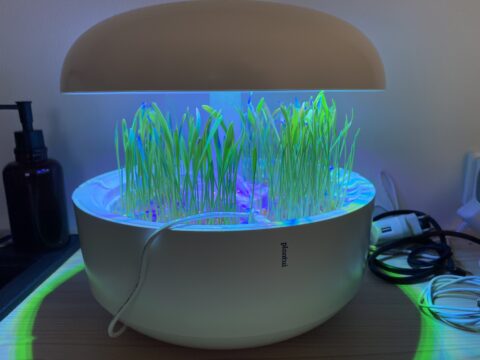
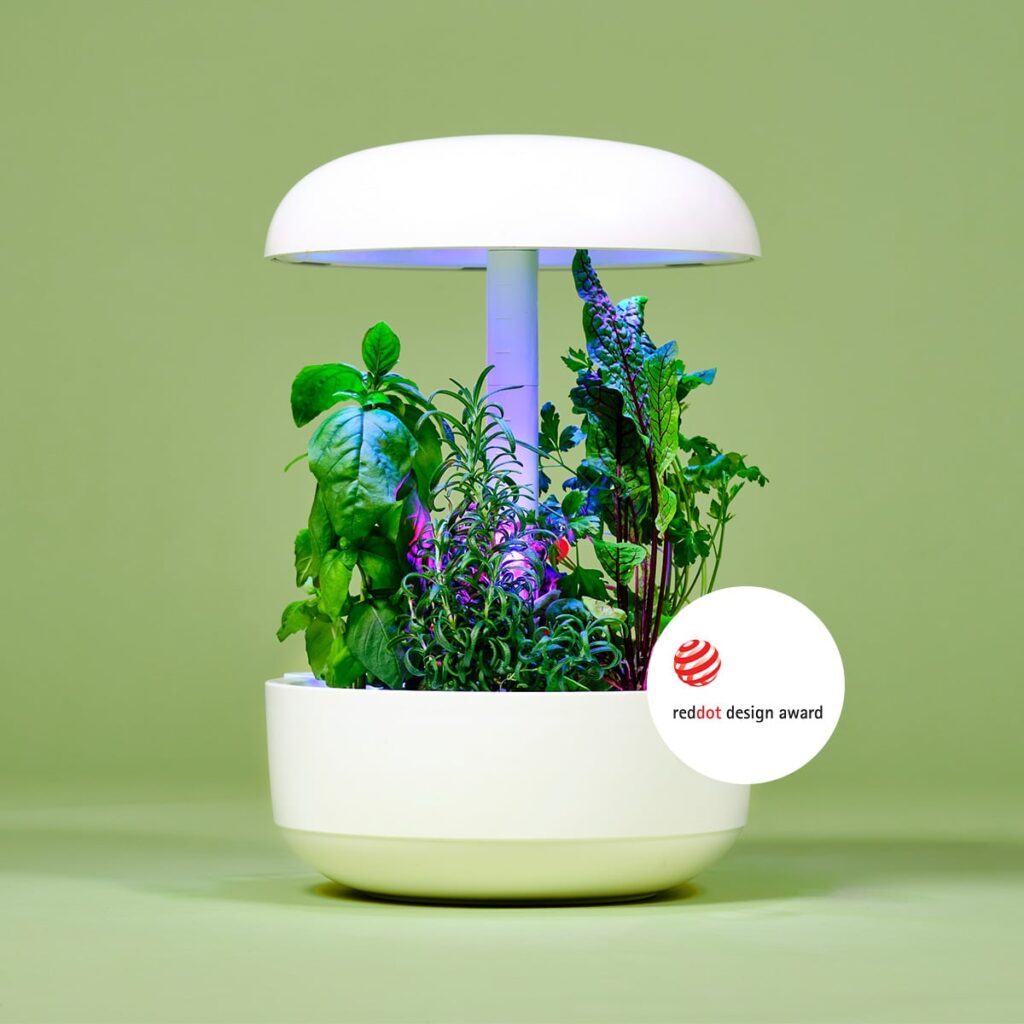
If having an easy start is your goal, consider using a smart garden for that purpose. One of the main advantages of using a smart garden is the presence of growing light, which is really important as most veggies need a minimum of 6-8 hours of daily direct sun. Choosing professional agriculture light, like Plantui, also ensures the growth of strong and healthy sprouts which have better chances to grow in beautiful plants.
There are some easy-going plants to start indoors that will give you a nice gardening experience even if this is your first experience: lettuces, kale, beans, tomatoes, chilies/peppers and eggplants. Try melon if you feel ready for a little more challenge.
Another option to sprint into outdoor gardening would be to buy grown-sprouts from the shop directly when the good season starts. This is not our favourite way, so I will not talk about this method here. However, I want to list here for you 3 reasons why starting from seed is better:
One of the advantages of growing from seed is the huge number of varieties available. You can definitely follow your fantasy and experiment with something different every year, however, consider that local seeds might have a better chance to grow happy once moved outdoors. Also make sure that you select high quality seeds, with a high germination rate. Plantui selected seeds have more than 95% germination rate and they are ready to be grown indoors. When you select seeds from your favourite store, just make sure to check the germination rate, and if they require pre-growing treatment like soak, scratch, or chill.
Some plants really like a warm and comfy start indoors, while others definitely don’t like to be moved. So, it’s important to choose which plant to pre-grow. Here are some tips:
The right moment to start to pre-grow/transplant varies depending on the vegetables you grow, your location and the yearly weather.
As a general rule, the seeds of most vegetables should be planted indoors about six weeks before the last frost but remember to check if there are any other instructions for the seeds you choose. Once your sprout has grown, start with the most cold tolerant varieties and slowly move the others when the outdoor temperature is appropriate for them.
Soil condition is very important for a successful outdoor growth. Transplanting on the balcony is easier as the conditions are more stable, thus you are ready to go as soon as it’s not too cold. Remember that heat-loving plants shouldn’t be outside until night-time temperatures remain above 15°C.
When transplanting in a garden it might be good to use a soil thermometer to help deciding when is the right moment to move:
When transplanted outside, plants need to adapt to the changes in temperature and light, thus it is important to make the transfer as slow and smooth as possible. You should dedicate at least one week to the transition:
Remember also to prepare your soil for welcoming the new plants: get the right soil, peat moss, or coir and if needed a source of nutrient like compost or manure. If you grow in the garden, check that the soil is not too wet, make sure you remove weeds and get ready with mulch for protection from water transpiration.
Starting seeds indoors in hydroponics is a very good choice to start easy and clean. Some plants germinate much better with this method than in soil (e.g. some low germination rate chilies) and there are less chances of soil-borne diseases.
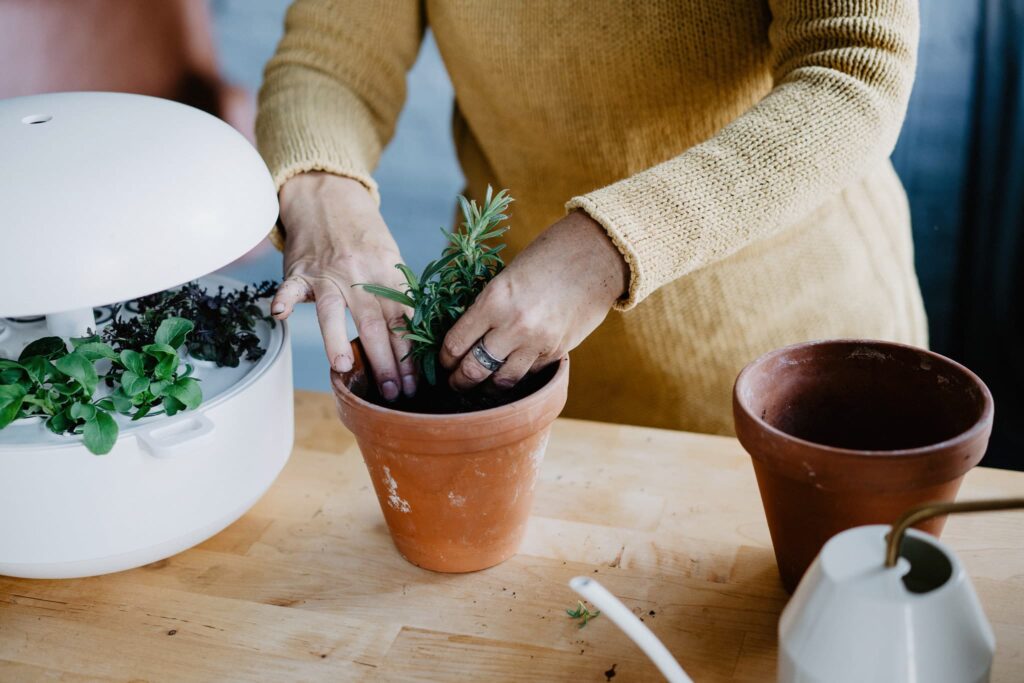
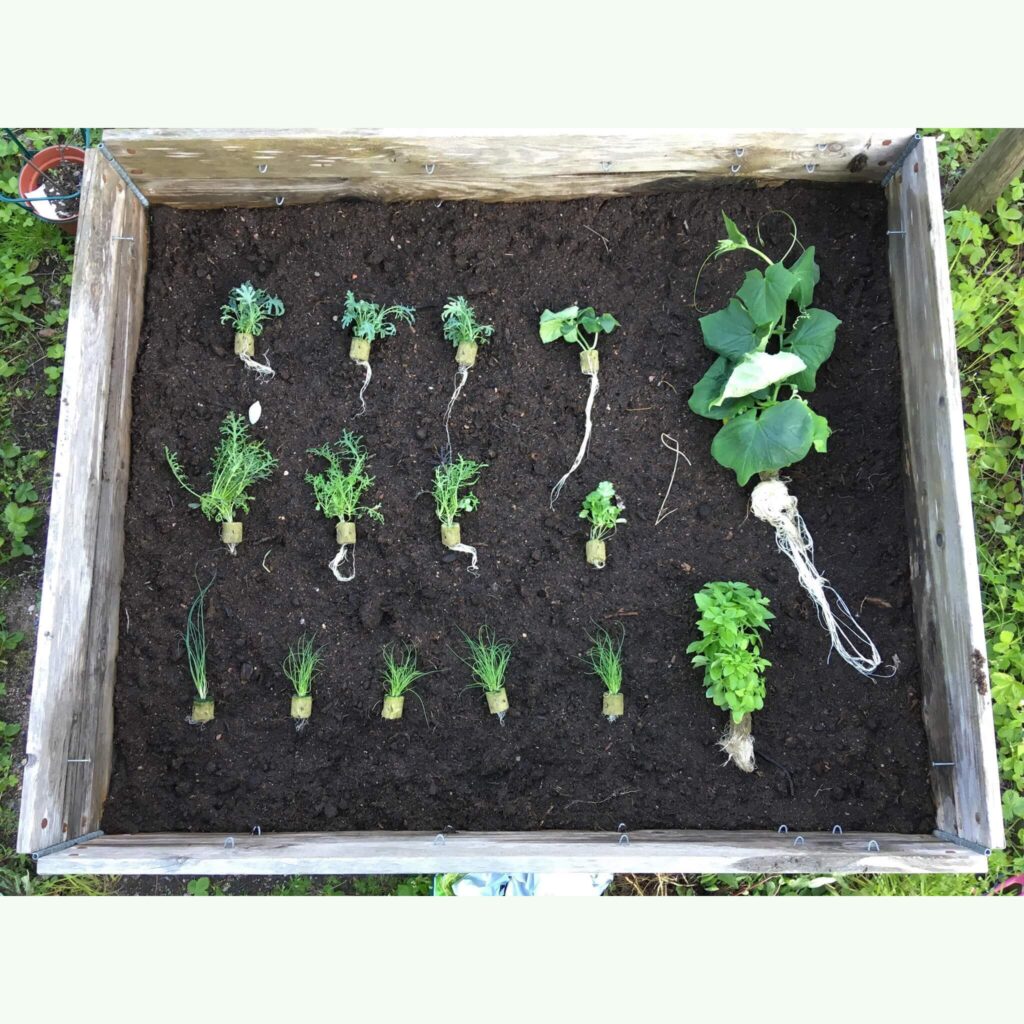
The transplanting however needs a little extra care as the plants need to adapt to a new completely environment after they have been moved. The roots especially need to grow thicker and longer to search for nutrients and water in the soil. So here are some tips on how to do it safely:
After you have transplanted your plant from hydroponic to soil don’t panic if the leaves are yellowing or falling off (especially for bigger sprouts), just make sure the soil is wet and the direct sun is not too strong; they will recover. New leaves will emerge as the plant adapts in a couple of weeks.
Get ready in time with all what you need for pre-growing with your Plantui:
And here are some more tips for creating an outdoor garden from your Plantui:
Last few things you need to know – as Plantui uses the hydroponic method to grow plants, you can use the tips given in this article and move the seedlings to a pot before planting them into the garden. If you move your plants directly from Plantui to the garden you can adapt them by unplugging your smart garden and moving it in the sun/outside, in this way the plants will get less water and get used to the sunlight. If the leaves are wilted in the evening make sure the plant gets water by reconnecting the device and manually activating the pump (keep your hand on the device for 15-20 seconds until the pump starts -you’ll hear it). Remember also to reduce the amount of fertiliser. You can for instance start to grow your seeds using only 2 l of water + 2 spoon of nutrient and 10 days before moving them out start adding to the plantui bowl water without nutrient.
Hope you feel ready to start your summer gardening adventure!
Martina & Plantui team
Are you interested in starting your own indoor garden? Plantui is the perfect product for you if you want to grow food inside with perfect quality and zero hassle. Choose from our two sizes.
The Plantui Smart Garden 3 is the perfect indoor garden for small spaces. Supports herbs, salads, edible flowers, and chilies and tomatoes.
Plantui Smart Garden 6 is the perfect indoor garden for homes with more space. Supports our whole plant selection, including microgreens.