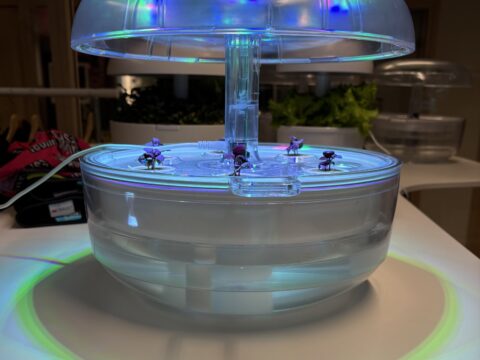
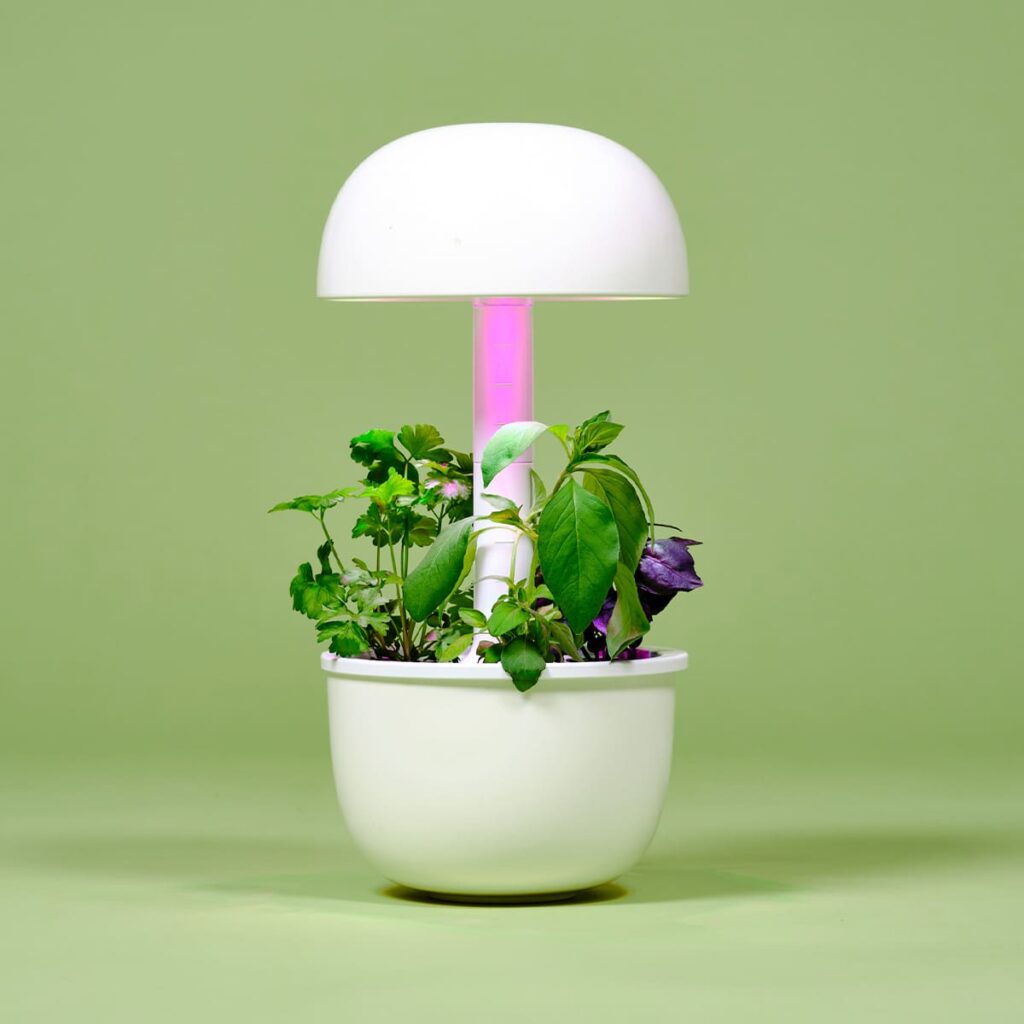
Plantui Smart Garden 3
The Plantui Smart Garden 3 is the perfect indoor garden for small spaces. Supports herbs, salads, edible flowers, and chilies and tomatoes.
149.00 €
Blog
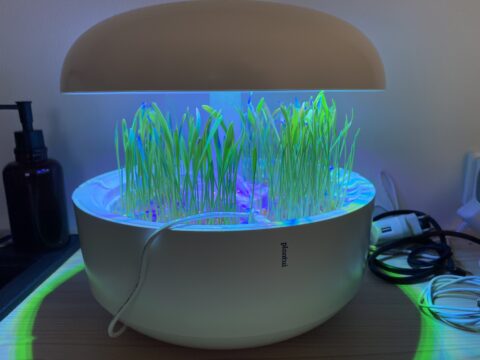
Microgreens are a quick and simple superfood that always delivers a spring-fresh taste!In a Plantui Smart Garden 6, growing microgreens is easy, fast and hassle-free.
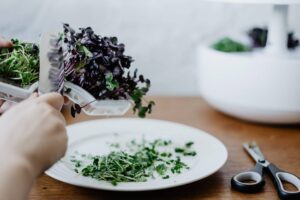
Microgreens are small plants that grow from the seeds of vegetables and herbsin just a week or two - the baby versions. In addition to their first leaves (i.e. cotyledons), the microgreens also produce a stem and roots. You can eat both the leaves and stems of microgreens, which are full of flavour, vitamins and minerals.
Microgreens look pretty similar to each other, but when you eat them, you’ll notice the difference. If you want something juicy and gently sweet, you might want to try pak choi. Those looking for a stronger, peppery taste are guaranteed to adore the radish microgreens. If you’re looking for something to pep-up a salad or help fill-out a tortilla then the salad rocket microgreens are the best choice. In addition to its fresh and mild peppery flavour, red cabbage is also an eye-catcher, as the shoots come through beautifully red-green in colour. The broccoli microgreens are mild and crunchy – a version even the kids will enjoy.
Try all our microgreens to find your own favourites.
Microgreens are very fast to grow, with radishes and broccoli, for example, ready for harvest in seven days. Red cabbage, pak choi and salad rocket don’t take long to grow into microgreens either - you can enjoy their harvest no later than two weeks after sowing.
In addition to the wonderful taste and quick rate of growth, the added benefit of microgreens is their amazing nutritional value. Microgreens are full of minerals and trace elements, as well as vitamins, all packed in a small space. Compared to the adult versions, the levels of vitamins and minerals in microgreens are 40-50 times higher. For example, a small plate of red cabbage microgreens is equivalent to the same amount of vitamins and minerals in a whole red cabbage.
A lot of kick with just a little chewing!

Microgreens are high in calcium, magnesium, iron, zinc, vitamins A, B, C, E and K, antioxidants and polyphenols. Check out the detailed information for each microgreen to see which particular vitamins and minerals they are high in and how they support your health.
At the same time, reduce your carbon footprint! Only a little water and energy is required to grow your microgreens, which are the most local form of food possible – grown in your own home. Plantui’s patented technology turns you into an urban farmer and helps you begin your journey towards a more self-sufficient life.
Buy your Microgreens Starter Kit here, which includes everything you need to get growing.
Are you interested in starting your own indoor garden? Plantui is the perfect product for you if you want to grow food inside with perfect quality and zero hassle. Choose from our two sizes.
The Plantui Smart Garden 3 is the perfect indoor garden for small spaces. Supports herbs, salads, edible flowers, and chilies and tomatoes.
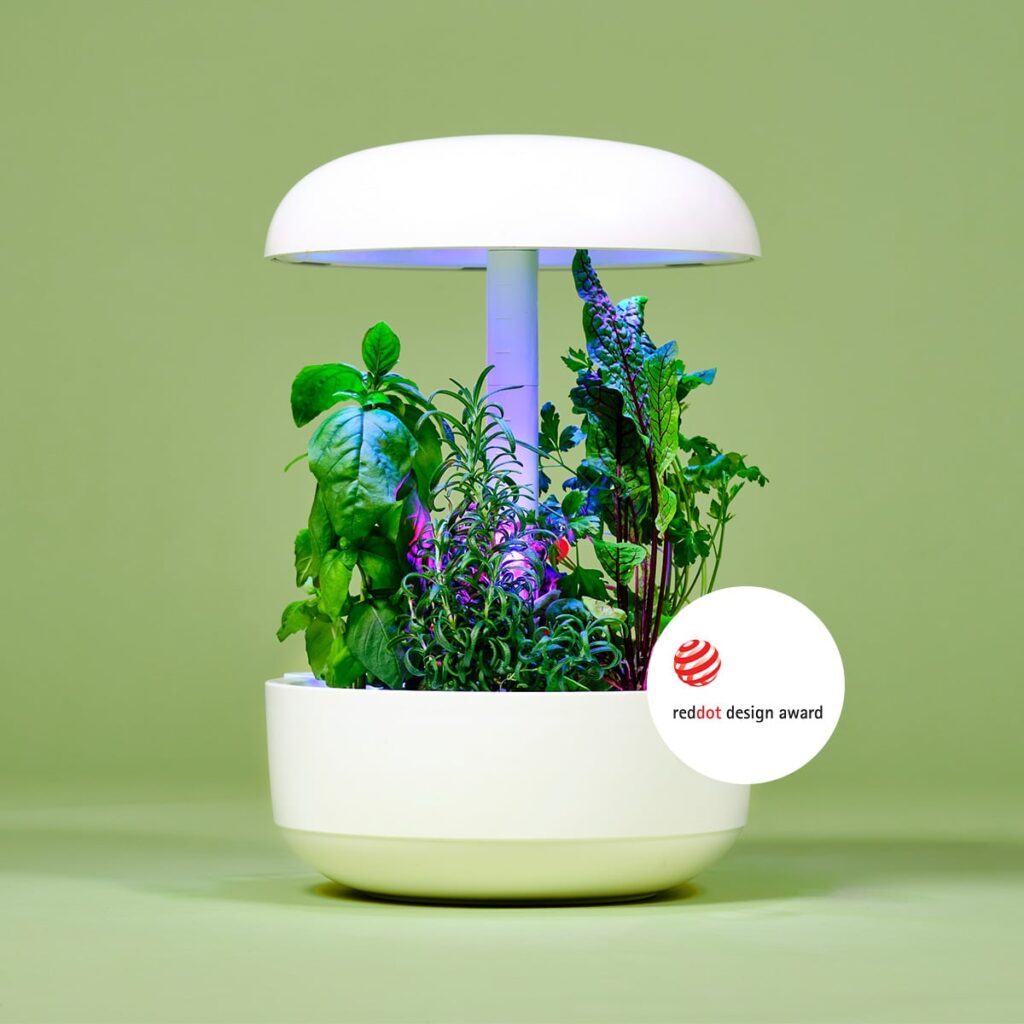
Plantui Smart Garden 6 is the perfect indoor garden for homes with more space. Supports our whole plant selection, including microgreens.